

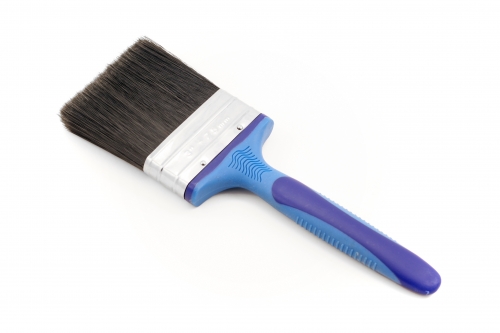
 The Painter's Toolbox
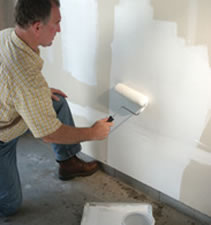
As a do-it-yourself project, painting the inside or outside of your house offers immediate gratification and can save lots and lots of money.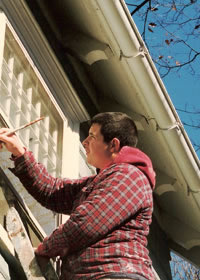
As with all projects, there is a right way and a wrong way to paint. The right way centers on surface preparation. If preparing the surface takes as long or longer than actual painting, you've probably done it correctly.
Sanding, scraping, burning or Removing old paint by sanding, scraping or other means may generate dust or fumes that contain lead. Exposure to dust or fumes may have adverse health effects, especially in children or pregnant women. For more information, call the National Lead Information Center at 1-800-424-LEAD 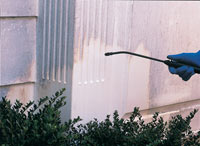 or contact your local health authority.
Preparation is determined by the kind of surface that you'll be painting. For example, if the surface is bare wood, fill nail holes, joints and cracks with patching paste. Sand smooth and remove sanding dust with a tack cloth. Prime all bare wood and patched areas with a primer.
New plaster walls must be clean and completely cured. Textured or swirl types and soft, porous or powdery plaster must be treated with a solution of one pint household vinegar in one gallon of water. Repeat the treatment until the surface is hard. Rinse with plain water. Let dry and apply primer.
For new drywall, panels must be securely nailed or glued in place. All panel joints must be taped and filled before painting. When joint cement and/or patching materials are thoroughly dry, sand smooth, wipe away dust, then prime.
Click here for information on sealing before insulating.